A scapular wall slide is a standing drill where you slide your arms up and down a wall while keeping your head, upper back, and lower back in contact with it, training your shoulder blades to depress and retract instead of shrugging toward your ears. The one cue that makes or breaks this exercise: pull your shoulder blades down and back before your arms move at all, and keep your ribs stacked over your pelvis rather than flaring open. If your low back arches, your neck pokes forward, or your shoulders creep upward, stop and shrink the range until those compensations disappear.
Key Takeaways
Scapular control has to come before range of motion, and the wall itself is the best feedback tool for building that control safely.
| Point | Details |
|---|---|
| Lead with the cue | Depress and retract your shoulder blades before your arms move, keeping ribs stacked over your pelvis. |
| Watch your contact points | Head, upper back, and low back should stay on the wall; losing contact means you’ve hit your range limit. |
| Start small, progress by control | Begin with 5 to 8 reps and only add range, holds, or load once every rep looks identical. |
| Know your red flags | Numbness, radiating pain, or new weakness means stop and see a clinician, not push through. |
| Use it as one piece of a plan | Pair the drill with broader posture education, like Bestforwardheadposturefix’s habit-based correction guides, for lasting change. |
Table of Contents
- What Is a Scapular Wall Slide Used For?
- What Muscles Does the Scapular Wall Slide Target?
- How Do You Perform a Scapular Wall Slide Correctly?
- Why Do My Shoulders Shrug or Back Arch During Wall Slides?
- What Are the Best Regressions and Progressions for Wall Slides?
- How Should You Program Scapular Wall Slides Into Training?
- What Does the Research Say About Wall Slide Exercises?
- When Should You Stop or See a Clinician for Shoulder Pain?
- What Coaching Cues Improve Scapular Wall Slide Technique?
- Sources
What Is a Scapular Wall Slide Used For?
The drill trains three things at once: scapular control, thoracic extension, and a gentle stretch through the chest. That combination is exactly why it shows up so often in posture correction and shoulder rehab programs, since desk-bound shoulders tend to sit rounded and internally rotated for eight hours a day.
You’ll get the most out of it in a few specific situations:
- Posture correction for rounded shoulders and a forward-leaning upper back
- Warm-up before overhead pressing, throwing, or swimming work
- Early-stage shoulder rehab where scapular control needs rebuilding before load
- Daily mobility maintenance for anyone sitting most of the day
Skip or modify this if you have acute shoulder pain, a recent shoulder surgery without clearance, or a known instability issue. It requires nothing but a flat wall and about two feet of open floor, which is part of why it’s become a staple recommendation for scapular retraction work tied to neck posture correction.
What Muscles Does the Scapular Wall Slide Target?
The main players are the middle and lower trapezius, rhomboids, and serratus anterior, with the rotator cuff assisting to keep the shoulder joint centered as your arms travel overhead. On the front side, you’re getting a stretch through the pectoralis major and anterior deltoid, the muscles that tend to shorten from hours of rounded-shoulder sitting.
Mechanically, three things happen together:
- The shoulder blades retract and depress, pulling out of that forward, elevated slouch position
- They upwardly rotate as your arms rise, which is required for full overhead reach
- Your thoracic spine extends slightly, counteracting the rounded upper-back curve that drives forward head posture
None of this works if your ribs are flared open. Keep a light exhale and gentle core brace through the set. That’s what keeps your low back pinned to the wall instead of arching to fake extra range, and it’s a detail Eric Cressey’s coaching notes flag as the difference between a real rep and a compensated one.
How Do You Perform a Scapular Wall Slide Correctly?
Here’s the step-by-step, built around contact points rather than just arm position, since the wall is your feedback system.
- Set your stance. Stand with your feet six to eight inches from the wall, then lean back until your head, upper back, and low back all touch it.
- Flatten your low back. Gently brace your core and tuck your ribs down so there’s no gap between your lower spine and the wall. This is your foundation for the whole set.
- Set your arms. Raise your arms to a goalpost position, elbows and wrists against the wall, forearms roughly at 90 degrees.
- Depress and retract first. Before you slide anything, pull your shoulder blades down and back, like you’re tucking them into your back pockets.
- Slide up slowly. Drive your arms upward along the wall, keeping elbows and wrists in contact as long as possible. Stop the instant contact breaks anywhere.
- Pause at the top. Hold for one to two seconds, feeling the stretch across your chest without your low back lifting off the wall.
- Return with control. Lower at the same slow tempo, resetting the scapular depression before the next rep.
Contact checks: head, upper back, and low back stay on the wall throughout. If your low back pops off, your ribs have flared. If your wrists peel away early, your thoracic spine or pecs are limiting you. In both cases, reducing your range is the fix, not forcing the reach.
Tempo: a two-count up, a one-to-two-second pause at the top, and a two-count down. Beginners should aim for 5 to 8 reps per set; once control is solid, work toward 10 to 12 reps. A mirror off to the side, or a phone propped up for a quick video check, will show you compensations you can’t feel in the moment. Compare your rep to a clean demonstration and watch specifically for the low-back gap and the neck-poke, the two mistakes that sneak in first.
Why Do My Shoulders Shrug or Back Arch During Wall Slides?
Most compensations come down to two things: limited thoracic mobility and tight anterior tissue pulling your arms off course before your scapula finishes its job. Here’s how to spot and fix the four you’ll see most.
- Low-back arch: Your ribs have flared to borrow range from your spine instead of your shoulder blades. Cue: brace your core and press your low back flat before you start the slide.
- Neck poke: Your chin juts forward as your arms rise, often because the upper traps are compensating for weak lower traps. Cue: keep your chin tucked and imagine lengthening the back of your neck.
- Shoulder shrug: Your shoulders climb toward your ears instead of depressing. Cue: think “blades down and back” before every rep, not just at setup.
- Wrists peeling off the wall: Usually a thoracic mobility or pec-length limitation. Fix: shrink your range so wrists stay in contact through a smaller arc.
A quick self-check: place two fingers on your low back before you begin. If you feel a gap open as your arms rise, you’ve found your compensation point, and that’s exactly where your working range should stop for now.
Pro Tip: If shrugging or arching shows up every single rep, drop the wall slide entirely for a session and do scapular-only retractions and depressions with your arms at your sides. Rebuilding that isolated motor pattern first makes the full drill click almost immediately once you reintroduce it.
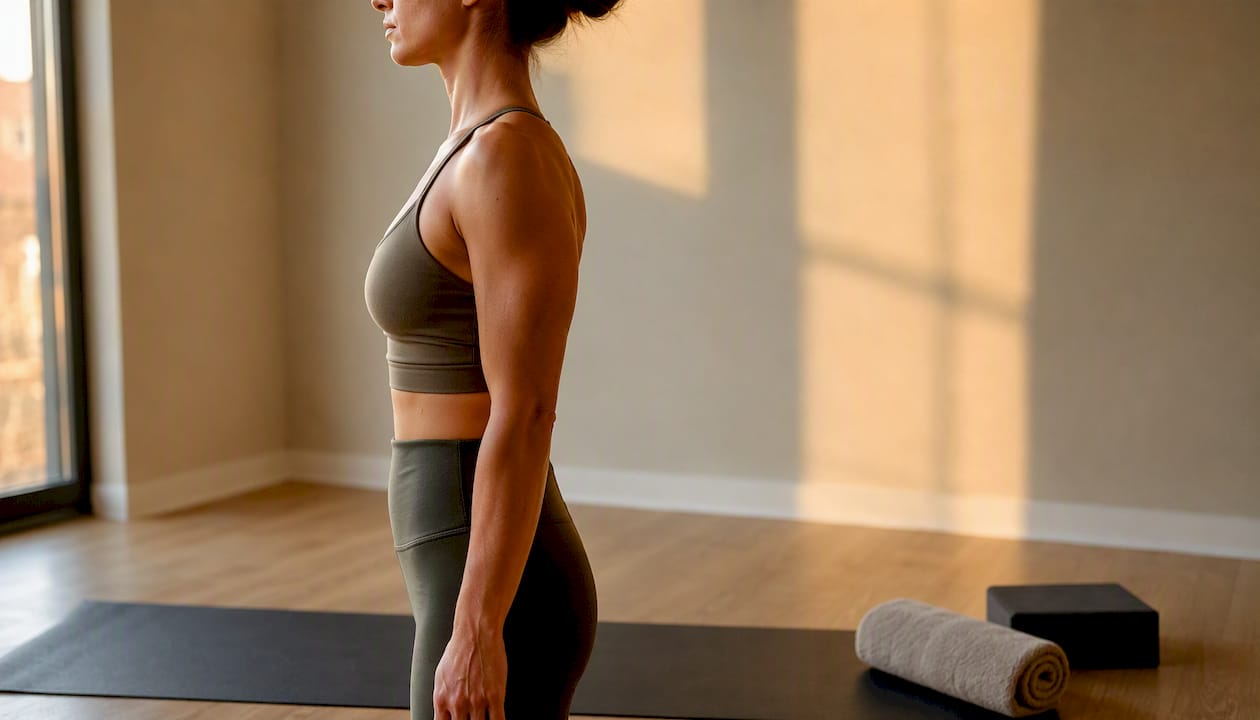
Practitioners who work with this drill regularly point to the same root cause again and again: people try to force their hands to the wall before their scapula and thoracic spine are ready, and the low back pays for it.
What Are the Best Regressions and Progressions for Wall Slides?
Not everyone starts with the same mobility or control, and that’s fine. Scale the drill instead of forcing a range you can’t own yet.
Regressions (use these if you can’t maintain contact through a full slide):
- Partial-range slides, stopping the moment any contact point lifts
- Seated wall slides against a chair back, which removes some of the balance demand
- A rolled towel or small foam roller behind your upper back to reduce the stretch demand while you build control
- Scapular squeezes only, arms staying at your sides while you practice retraction and depression in isolation
Progressions (once you can complete clean full-range reps):
- Full wall angels, sliding through a complete overhead arc with total contact
- Band-assisted overhead slides, adding light resistance through the same path
- Isometric holds at the top or mid-range for three to five seconds
- Loaded overhead work, like light dumbbell presses, once scapular control transfers under weight
Decide which direction to move based on control, not just pain-free range. If you can hit a full slide but your shoulder shrugs on rep six of eight, you’re not ready to add load. Fix the pattern before you add resistance.
How Should You Program Scapular Wall Slides Into Training?
For a daily mobility routine, 2 sets of 8 reps in the morning or before a desk-heavy stretch of work is plenty, as explained in What Jeff Webb’s Injury Reminds Us About Movement Science. As a warm-up before pressing or overhead sport, 2 sets of 6 to 8 reps with a two-second top hold primes the same muscles you’re about to load. In a corrective session aimed specifically at posture, 3 sets of 10 to 12 reps with a slower tempo and longer holds gets more training effect.
- Start with 2 to 3 sets of 5 to 8 reps for your first two weeks, prioritizing clean contact over rep count.
- Once you can complete every rep without compensation, progress to 10 to 12 reps or add a longer isometric hold at the top.
- Pair the drill with band pull-aparts and thoracic extension work over a foam roller to reinforce the same posture pattern from multiple angles.
Three sessions a week is a reasonable starting frequency for posture-focused work; daily is fine for a short mobility routine as long as you’re not chasing soreness.
What Does the Research Say About Wall Slide Exercises?
A clinical study on subjects with scapular downward rotation found that wall slide and sling slide exercises improved scapular alignment and reduced pain in that population. That’s a meaningful signal for anyone using the drill as a corrective tool, though the study’s scope was narrow: a specific patient group, a limited sample, and a short follow-up window rather than a large, long-term trial.
The practical takeaway isn’t that wall slides are a cure-all. It’s that a low-cost, equipment-free drill produced measurable change in scapular position and pain in a group whose shoulder mechanics were already compromised, which is exactly the population most likely to be reading this.
Electromyography data on related wall-slide movements shows high activation in the lower trapezius, one of the muscles most commonly underactive in people with rounded shoulders. That matters clinically because lower-trap weakness is a recurring finding in shoulder impingement and posture research, so a drill that reliably lights up that muscle earns its place in a rehab or corrective program. Treat this as one solid piece of a broader plan involving posture habits and other scapular work, not a standalone fix.
When Should You Stop or See a Clinician for Shoulder Pain?
Most discomfort during wall slides is a mild stretch across the chest as tight pecs lengthen, and that’s normal. Sharp, pinching, or radiating pain is not, and it means you should stop the set immediately.
Skip this exercise, or get clearance first, if any of these apply:
- Acute shoulder instability or a history of dislocation
- Recent shoulder surgery without a green light from your surgeon or physical therapist
- Sharp or radiating pain that appears specifically during the movement
Watch for red flags that go beyond normal muscle fatigue: numbness, pins-and-needles down the arm, or new weakness that wasn’t there before. Any of those warrant a clinician’s evaluation rather than pushing through with modified reps. Mild stretching discomfort with no numbness or shooting pain is a completely different signal than sharp pain, and knowing the difference is what keeps this drill safe long-term.
What Coaching Cues Improve Scapular Wall Slide Technique?
Coaches who use this drill daily rely on a consistent sequence: set the scapula first, lengthen through the thoracic spine second, then slide slowly. Skipping straight to the arm slide without setting the shoulder blades is the single most common technical error, even among people who’ve done the exercise for years.
A few cues and tools worth borrowing:
- Sequence cue: “Blades down and back, then chest tall, then slide,” said out loud during early reps to build the habit
- Tactile feedback: a foam roller or rolled towel placed vertically along the spine gives instant feedback if you shift off-center
- Visual feedback: a side-view mirror shows the low-back arch that’s nearly impossible to feel from the inside
- Micro-dosing: two to three minutes of scapular sets and slow wall slides scattered through a workday builds motor patterning faster than one long session ever will
Add load only once reps look identical from the first to the last. If pec tightness is limiting your range more than motor control, soft-tissue work on the chest and thoracic mobilization drills done beforehand often unlock range that the wall slide alone won’t.
Pro Tip: Film yourself from the side once a week during a corrective phase. Progress in this drill is measured in millimeters of low-back contact, and a weekly video catches drift that you won’t notice rep to rep.
Why Control Comes Before Range in This Exercise
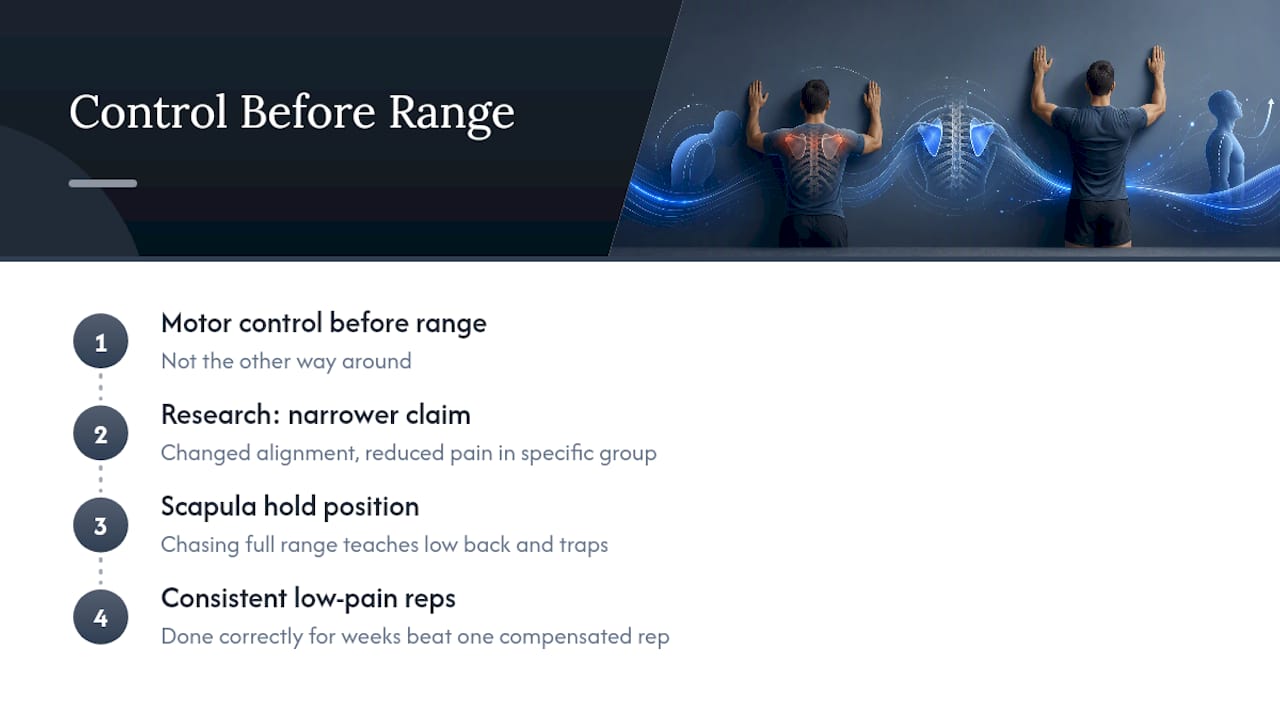
Motor control has to come before range, not the other way around. The research on wall slides backs a narrower claim than most people assume: it shows changed alignment and reduced pain in a specific group, not that hands-to-wall is the goal. Chasing full range before the scapula can hold a position under control just teaches the low back and upper traps to cheat. Consistent, low-pain reps done correctly for weeks beat one impressive, compensated rep every time.
Build a Complete Posture Correction Plan
There are other routes to fixing rounded shoulders: a physical therapist, a personal trainer, or piecing together exercises from scattered videos and forums. All of those work, but they each ask something of you, whether that’s an appointment, a monthly fee, or the trial and error of figuring out which cues actually apply to your posture.

Bestforwardheadposturefix takes a different approach: structured, self-paced education that connects a drill like the scapular wall slide to the bigger picture of forward head posture, habit change, and daily ergonomics, without asking you to book anything or guess at what comes next. The site’s guides walk through how rounded shoulders, thoracic stiffness, and forward head posture feed into each other, so you’re not just doing one exercise in isolation. This isn’t a replacement for clinical care. If you’re dealing with the red-flag symptoms covered above, see a clinician first. For everyone else building a long-term correction habit, start with the full posture correction resource library and find the next piece of your routine.
Sources
- The effects of wall slide and sling slide exercises on scapular alignment and pain in subjects with scapular downward rotation
- Scapular wall slide technique
- A personal trainer says this one exercise can open up your chest, stretch your shoulders and strengthen your upper back | Fit&Well
- What Muscles Do Wall Angels Work? Upper Back and More – ScienceInsights
- Wall Slides (How To, Benefits, Common Mistakes) – Horton Barbell
This article is general information, not a substitute for advice from a qualified doctor. Consult a qualified healthcare professional about your own circumstances before acting on anything here.