Yes, you can improve a postural loss of your neck’s natural curve. The key is combining targeted exercise, ergonomic changes, and consistent daily habits over at least eight weeks. Start with three things right now:
- Screen for red flags first. If you have numbness or tingling down your arm, sudden severe neck pain, dizziness, or new weakness in your hands, stop and see a clinician before doing anything else.
- Do one chin tuck. Sit tall, gently draw your head straight back (think “double chin,” not a nod), hold for five seconds, release. That single movement begins reactivating the deep cervical flexors that forward head posture has switched off.
- Take a side-view baseline photo. Stand naturally against a plain wall, have someone photograph your profile at shoulder height. This is your measurement starting point.
Pro Tip: Set a phone timer for the photo so your posture is truly relaxed, not posed. A “performance” baseline makes progress impossible to read.
Key Takeaways
A consistent, multimodal exercise program lasting at least eight weeks is the most evidence-supported approach to improving a postural reverse neck curve caused by forward head posture.
| Point | Details |
|---|---|
| Measure before you start | Take a side-view photo and estimate your CVA; re-measure every four weeks to track real change. |
| Eight weeks is the minimum | Meta-analysis data shows meaningful CVA, pain, and NDI improvements emerge with programs lasting eight weeks or longer. |
| Multimodal beats single-mode | Combine deep cervical flexor work, upper-back strengthening, thoracic mobility, and stretching for better results than any one exercise alone. |
| Fix the environment too | Monitor at eye level, 30–60 minute movement breaks, and neutral sleep position prevent daily re-loading of the problem. |
| Bestforwardheadposturefix | Offers structured guides, measurement templates, and progressive programs to support the full eight-plus-week process. |
Table of Contents
- What “reverse neck curve” means in this guide
- How is forward head posture actually measured?
- What does the research actually show?
- How to assess your starting point and set real goals
- A practical 8-week exercise program
- Ergonomic fixes and daily habits that protect your gains
- What progress looks like and when to expect it
- When to stop self-managing and see a clinician
- The case for measurement over motivation
- Structured guidance from Bestforwardheadposturefix
- Sources
What “reverse neck curve” means in this guide
The phrase “reverse neck curve” is used here to describe the postural loss or flattening of the neck’s natural inward curve, called cervical lordosis, driven by forward head posture (FHP). When the head drifts forward over months or years, the cervical spine gradually loses its gentle C-shaped curve. Some people describe this as “military neck” or “straight neck syndrome.” It is a postural and muscular problem, and it responds to exercise and habit change.
How is forward head posture actually measured?
The standard objective measure used in research is the craniovertebral angle (CVA): the angle formed between a horizontal line through the C7 spinous process (the bony bump at the base of your neck) and a line drawn up to the tragus of your ear (the small cartilage flap at the front of the ear canal). A larger angle means your head sits closer to vertical. A smaller angle means it has drifted forward.
Research using PostureScreen Mobile has established these thresholds:
| CVA Range | Classification | What It Suggests |
|---|---|---|
| Greater than 48° | Normal | Head well-aligned over the spine |
| 30°–48° | Light to moderate FHP | Noticeable forward drift; exercise indicated |
| Less than 30° | Severe FHP | Significant postural loss; clinician input advised |
Taking a consistent home photo
- Wear a fitted top so your neck and shoulder line are visible.
- Stand in your normal relaxed posture, feet hip-width apart, eyes forward.
- Place a small sticker or piece of tape on your C7 bump and one on your ear tragus.
- Have someone photograph your right side from about six feet away at shoulder height.
- Use a free angle-measurement app (or a protractor overlay) to estimate your CVA.
- Repeat every four weeks under identical conditions.
Pro Tip: PostureScreen Mobile has been used in published research to collect CVA measurements and can give you a more reliable reading than eyeballing the photo alone.
What does the research actually show?
The evidence is encouraging, though not without limits. A systematic review and meta-analysis of randomized trials found that therapeutic exercise produced a mean CVA improvement compared with control groups, alongside meaningful reductions in pain (VAS mean difference: −1.42) and neck disability (NDI mean difference: −5.44). Evidence certainty was rated low-to-moderate, and heterogeneity across trials was notable, so treat these as directional signals rather than guaranteed outcomes.
The Neck Disability Index (NDI) was used alongside CVA and pain scales across the included trials, making it a practical tool for tracking your own progress at home.
How to assess your starting point and set real goals
Before starting any program, gather a brief baseline:
- Side-view photo with CVA estimate (see the photo method above)
- Neck mobility check: slowly turn your head left and right, then tilt each ear toward its shoulder; note any stiffness or asymmetry
- Pain score: rate your average neck discomfort on a 0–10 scale
- NDI score: the Neck Disability Index is a 10-item questionnaire that takes under three minutes and gives you a disability percentage to track over time
From that baseline, set a hypothesis rather than a promise. Something like: “I aim to increase my CVA by 3–4° and reduce my NDI score by five points over 10 weeks.” Re-measure every four weeks. If you see no movement in CVA or symptoms after eight weeks of consistent effort, that is a signal to adjust the program or add clinician input, not to push harder with the same approach.
A practical 8-week exercise program
The evidence for an exercise-first approach centers on activating deep cervical flexors, strengthening scapular stabilizers, releasing overactive chest and upper-trap muscles, and restoring thoracic mobility. Here is how to build that progressively.
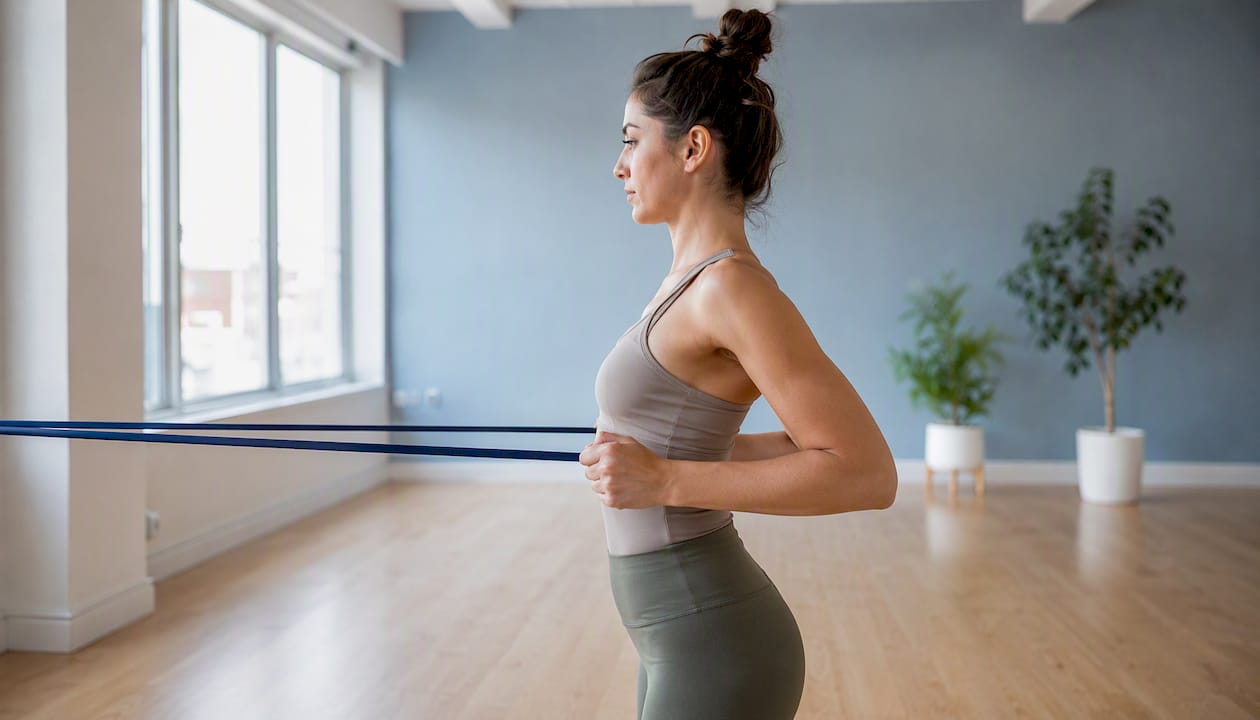
Week-by-week progression
| Phase | Weeks | Focus | Frequency |
|---|---|---|---|
| Foundation | 1–2 | Chin tucks, pec stretches, thoracic foam-roller | Daily |
| Activation | 3–4 | Add supine chin tucks, band pull-aparts, wall angels | Daily activation; strength 3x/week |
| Load | 5–8 | Add resisted rows, face pulls, Y/T/W raises | Strength 4x/week; daily activation |
| Consolidation | 9 | Increase resistance, add proprioception challenges | Maintain 4x/week; reduce daily sets |
Core exercises with form cues
- Chin tuck (standing or seated): Draw the head straight back, creating a “double chin.” The motion is horizontal retraction, not a downward nod. Shoulders stay relaxed. Hold five seconds, 10 reps.
- Supine chin tuck: Lie on your back, press the back of your head gently into the floor while tucking. Gravity assists the deep flexors here. 10 reps, two sets.
- Thoracic extension over foam roller: Place the roller across your mid-back, support your head, and gently extend over it for 30–60 seconds. Move it up one segment at a time.
- Band face pull: Anchor a resistance band at face height, pull toward your nose with elbows flared, squeezing the shoulder blades together at the end. 12–15 reps, three sets.
- Doorway pec stretch: Stand in a doorway, forearms on the frame, step through gently until you feel a stretch across the chest. Hold 30 seconds each side.
Common mistakes to avoid on chin tucks: nodding the chin down instead of retracting, tensing the shoulders upward, and holding the breath. If any exercise produces sharp pain, tingling, or dizziness, stop immediately.
Pro Tip: Start with bodyweight only for the first two weeks. Adding resistance before you have clean retraction mechanics just trains the wrong muscles harder.
Ergonomic fixes and daily habits that protect your gains
Exercise alone will not hold if you spend eight hours a day in the posture that caused the problem. Ergonomic adjustments and regular movement breaks are practical interventions that reduce neck strain and support structural improvement.
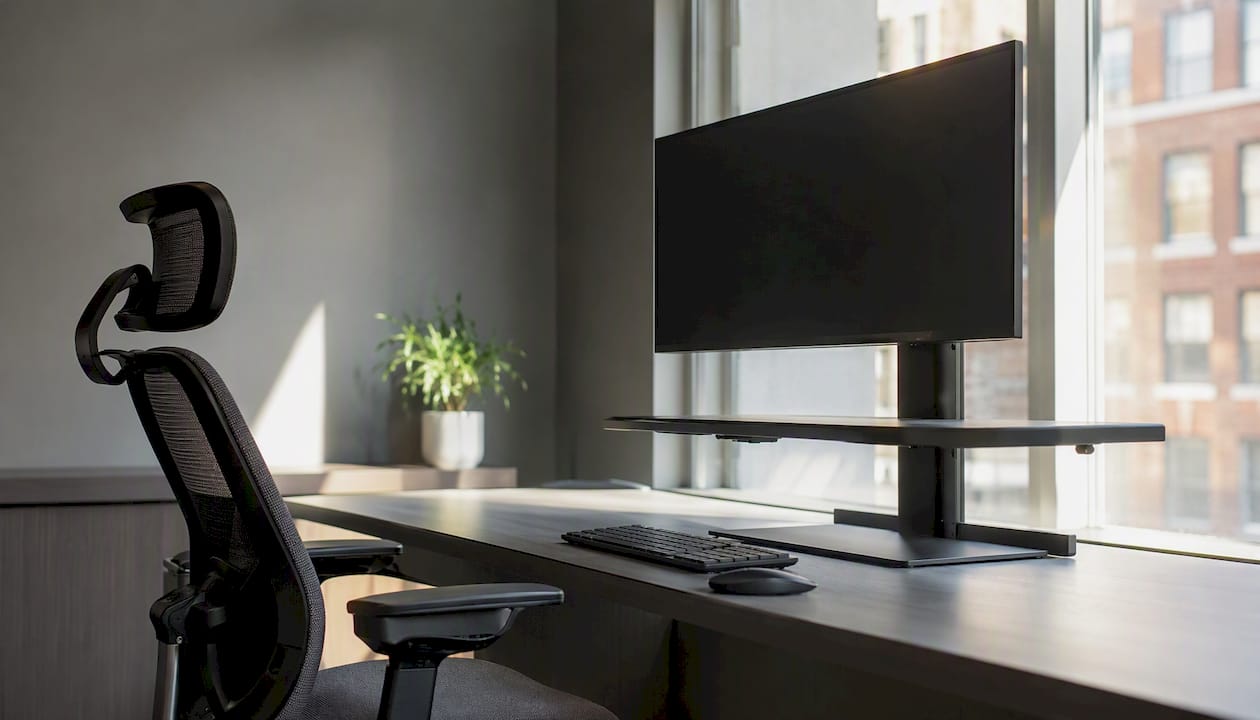
Workstation checklist:
- Monitor top edge at or just below eye level, arm’s length away
- Chair back supporting the lumbar curve, feet flat on the floor
- Keyboard and mouse close enough that elbows stay near 90°
- Phone at eye level, not cradled between ear and shoulder
Daily habit hacks:
- Every 30–60 minutes, do three to five chin tucks, roll your shoulders back, and stand for one minute
- Set a recurring phone alarm labeled “neck reset” to make this automatic
- When using a phone, raise it to eye level rather than dropping your head
Sleep position: Back sleeping with a cervical support pillow that keeps the neck in a neutral curve is preferable to stomach sleeping, which forces the head into rotation for hours. Side sleeping is acceptable with a pillow thick enough to keep the head level with the spine.
Pro Tip: Poor workstation setup directly links to higher neck disability scores in office workers. Fixing your desk takes 10 minutes and works around the clock.
What progress looks like and when to expect it
Early gains, typically in weeks two through four, are mostly neuromuscular: the deep cervical flexors start firing more reliably, and the constant muscle fatigue in the upper traps often eases. Measurable posture shifts and meaningful symptom improvement tend to appear by weeks eight through twelve when the program is consistent.
A CVA improvement of around 3° may sound small, but paired with a five-point drop in NDI and reduced daily pain, it represents a real functional shift. The meta-analysis findings show that small-to-moderate CVA changes are the realistic target, not dramatic structural remodeling in a few weeks.
If you plateau after eight weeks, consider adding a modality (massage, physiotherapy, or a different resistance exercise) rather than simply doing more of the same. Plateaus usually signal that the program needs variety, not volume.
When to stop self-managing and see a clinician
Most people with postural FHP can self-manage safely. Stop and seek evaluation if you notice:
- Numbness, tingling, or weakness spreading into the arm or hand
- Severe neck pain that starts suddenly or follows a fall or impact
- New balance problems or coordination changes
- Fever alongside neck pain
- Unexplained weight loss
- New bowel or bladder dysfunction
If you complete a full, well-dosed eight-to-twelve-week program with no improvement in symptoms or CVA, that is also a reason to get a professional assessment rather than continuing indefinitely on your own. Physiotherapy offers structured, supervised progression that self-managed programs cannot always replicate.
The case for measurement over motivation
Most people trying to fix their neck posture rely on how they feel day to day. That is the wrong signal to track, at least early on. Symptoms fluctuate with sleep, stress, and screen time in ways that have nothing to do with whether your cervical lordosis is actually recovering.
Objective measurement, even a consistent side-photo CVA estimate, gives you something that feelings cannot: a number that either moves or it does not. When it moves, you know the program is working. When it stalls, you know to change something. Motivation follows evidence; it rarely precedes it for long.
The other thing most guides understate is how much the ergonomic environment matters. An eight-week exercise program cannot outpace an eight-hour workday in a bad chair with a monitor six inches below eye level. The exercise and the environment have to work together, or the exercise is just maintenance against a daily structural insult.
Structured guidance from Bestforwardheadposturefix
Knowing what to do and actually doing it consistently are two different problems. Bestforwardheadposturefix offers structured, science-backed guides that walk you through the full process: baseline measurement templates, progressive week-by-week programs, ergonomic setup checklists, and habit-tracking tools designed for people managing this at home.

The site’s resources are built around the same evidence this article draws on: multimodal exercise, measurable outcomes, and behavior change that fits into a real workday. If you want a step-by-step plan rather than assembling one yourself, start with the full forward head posture program at Bestforwardheadposturefix, where you can also access the baseline photo checklist and follow-up guides at no cost.
Sources
- PMCID: PMC9987472 — (posture / CVA methods paper cited in prompt)
- Therapeutic exercise for forward head posture in neck pain patients: a systematic review and meta-analysis (Dove Press / JPR)
- Forward head posture: Symptoms, causes, and care (Acibadem Hospitals Group health library)
This article is general information, not a substitute for advice from a qualified doctor. Consult a qualified healthcare professional about your own circumstances before acting on anything here.